For a tool like this, it is pretty important to have a quick way to initiate, without having to scroll through your phone, looking for the app icon because oftentimes, you only have a limited amount of time to find out what song that is. Read More: How to Use Shazam From Your iPhone’s Control Center Just as you can add Shazam to your Control Center on iOS for easy access, Android users can also do the same with their quick settings toggles. In this post, we shall guide you through how to add Shazam to your quick settings toggles. Bear in mind that this could be a little different on your Android depending on which custom skin you’re running but the basic idea should be the same.
How to add Shazam to your Quick Settings panel
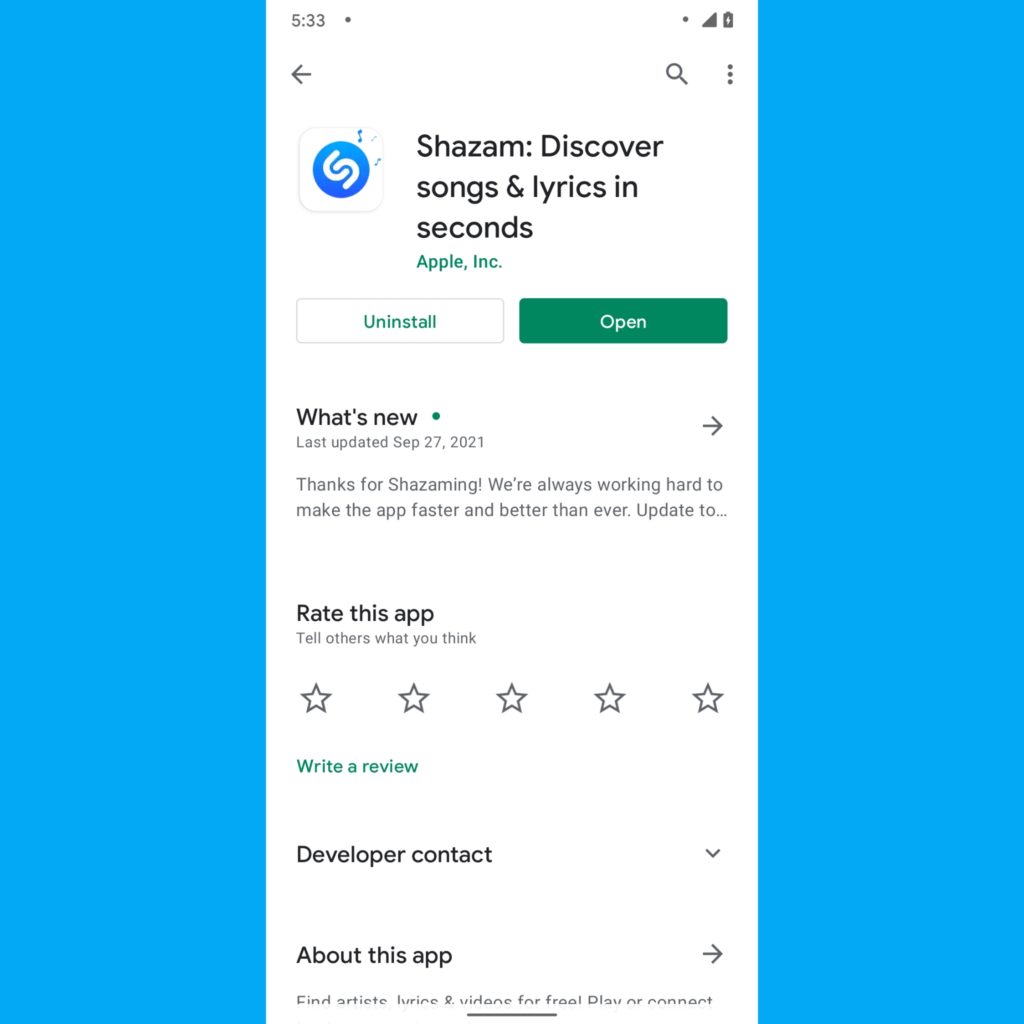
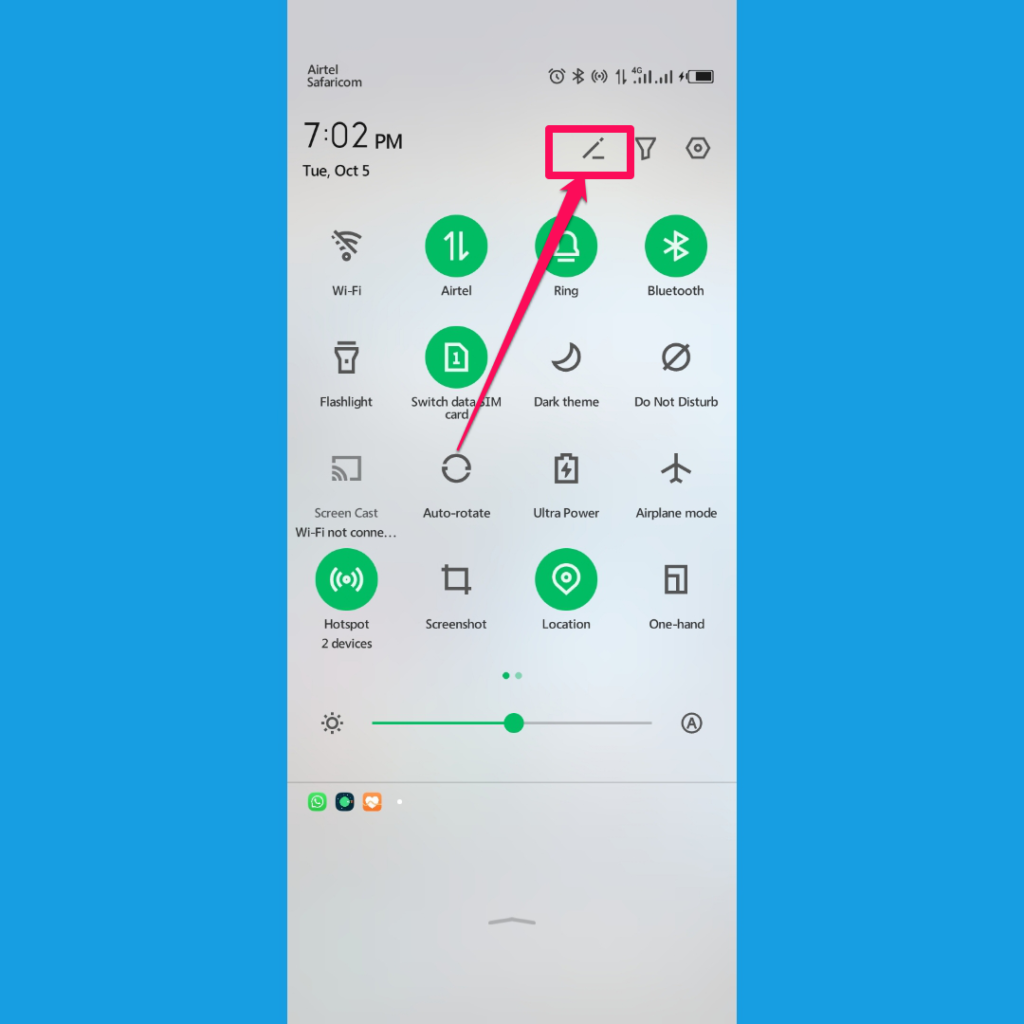
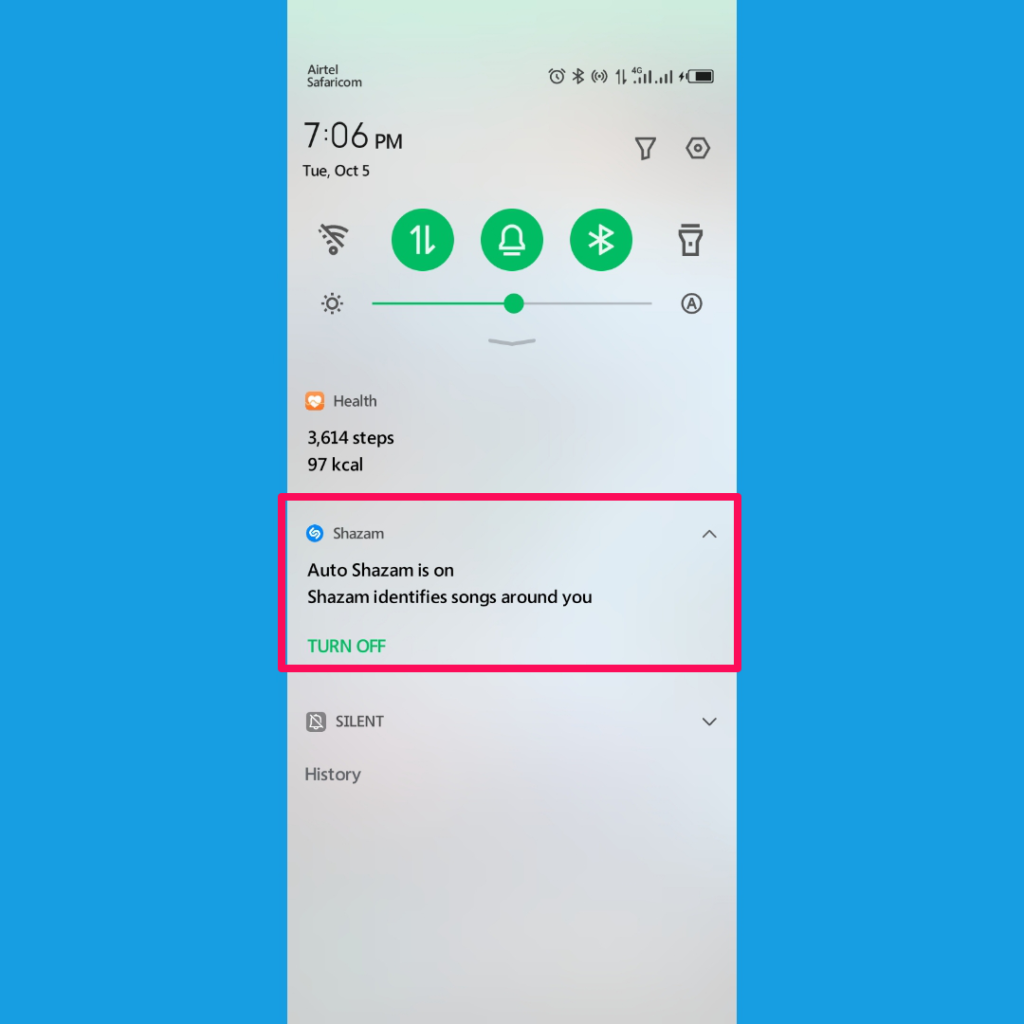
First things first, you need to ensure you’re running a version of Android that is newer than Android 7.0 Nougat as that was the first one to support editing the Quick toggles. Now that that is out of the way, here’s what you need to do. 2. Next, swipe down from your home screen to your notification panel. Here, you need to find the edit button. Depending on the Android skin you’re using, this will either be on top of this page, at the bottom, or hidden in the three dots menu on the top right corner. 3. You will then need to tap on this to enter into the editing menu. This will allow you to reorder these toggles, remove unused ones and add the ones you need. You now need to find the two Shazam quick toggles which are hidden by default. You will drag and drop them to the first page of the quick setting toggles, to a spot of your liking. 4. After placing them appropriately, simply go back and close the edit screen and you should see the Shazam icons in the location you placed them. Now the next time you hear a song you’d like to quickly Shazam, simply swipe down from anywhere in your Android UI and tap on th Shazam button and watch as your phone does its magic. Worth noting is that you can also invole ‘Auto Shazam’ using the same method and this will have Shazam run in the background, identifying songs even when you’re not using your device. You will know Auto Shazam is activated when you see this persistent notification in your Notification shade. This is especially useful when you’re in a place with nice music and you’d like to keep track of their playlist, say maybe at a Music Concert (remember when we still had those?), a club (if you’re crazy enough to come with your phone), or a restaurant. And that’s it! This should, no-doubt, be a nice little trick for any music lover and I for one, have enjoyed the convenience of using Shazam like this. You have any other tricks for us? Tell us in the comments section below. Featured Image courtesy of PCMag.


![]()
![]()


